Bumpers are essential components of any vehicle, designed to absorb impact and protect the structural integrity of the car. Over time, however, they can become cracked or dented due to minor accidents, rough road conditions, or even environmental factors. Addressing these damages promptly not only enhances the appearance of your vehicle but also ensures its safety on the road.
Repairing a cracked or dented bumper might seem daunting, but with the right tools and a step-by-step approach, it can be accomplished efficiently. Whether you’re a seasoned DIY enthusiast or a novice looking to save on repair costs, this guide will walk you through the necessary steps to restore your bumper to its original condition.
This article will cover the tools required, the techniques for assessing damage, and the methods for repairing various types of cracks and dents. By following these guidelines, you can achieve a professional-looking repair without the need for costly services. Let’s get started on the journey to revitalize your bumper!
Assessing the Damage on Your Bumper

Before initiating the repair process, it’s crucial to properly assess the damage on your bumper. This initial evaluation will help determine the extent of the repairs needed and whether you can tackle the project yourself or require professional assistance.
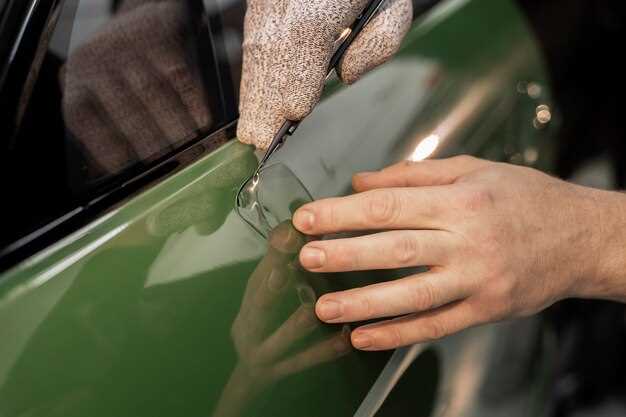
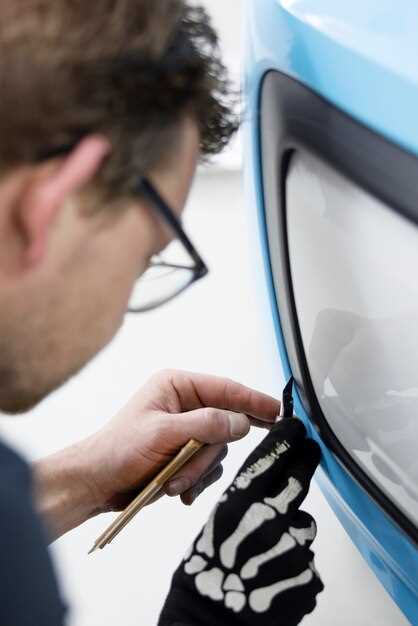
Begin by closely inspecting the bumper for visible cracks, dents, or scratches. Use a flashlight if necessary to illuminate any hidden areas. Document the damage by taking clear photographs from multiple angles. This will assist you in tracking the damage and could be useful if you decide to consult a professional or file an insurance claim.
Next, assess the depth and length of any cracks. Shallow cracks that do not penetrate through the bumper’s material may be easier to repair compared to deeper ones that compromise structural integrity. If a crack exceeds a few inches in length, it may require more extensive work, such as reinforcement or complete replacement.
For dents, evaluate whether the surface paint is damaged. An undamaged paint surface may only require a simple dent removal process, while a dent with paint damage might need repainting and refinishing. Pay attention to any signs of sagging or deformation, which may indicate that the bumper frame is also compromised.
Lastly, consider the material of your bumper, as different materials (plastic, fiberglass, metal) will dictate the appropriate repair methods. Ensuring you understand the type of damage and material will allow you to choose the right tools and techniques for a successful repair.
Choosing the Right Repair Materials and Tools
Selecting the appropriate repair materials and tools is crucial for effectively fixing cracked or dented bumpers. The first step is to identify the type of bumper material, which can be either plastic, fiberglass, or metal. Each material requires specific repair methods and products.
For plastic bumpers, a high-quality plastic welding kit is essential. This kit should include a heat gun, plastic welding rods, and a scraper. Additionally, epoxy adhesives specifically formulated for plastics can provide a strong bond for smaller cracks.
If your bumper is made of fiberglass, choose fiberglass repair kits that consist of resin, hardener, and fiberglass cloth. These materials allow for a strong and durable repair. Remember to wear protective gloves and a mask while working with these products to ensure safety.
For metal bumpers, a combination of body filler and primer is often necessary. Look for a durable auto body filler that can be sanded and painted smoothly. A good quality primer will ensure that the paint adheres well to the surface and provides a seamless finish.
In addition to materials, the right tools can greatly influence the repair process. Essential tools include sandpaper of varying grits, a putty knife for applying fillers, and a heat gun for plastic repairs. A buffer or polisher will help restore the bumper’s shine after repair.
Lastly, always invest in quality products to ensure durability and a professional finish. Using subpar materials can lead to premature failure of the repair, necessitating further work down the line.
Applying Repair Techniques for a Smooth Finish

Achieving a smooth finish after repairing a cracked or dented bumper involves several critical steps. Each step ensures that the bumper not only looks good but is also protected and durable.
-
Surface Preparation:
- Clean the area thoroughly with soap and water to remove dirt and grease.
- Sand the repaired area with fine-grit sandpaper (around 400 grit) to create a smooth surface.
- Wipe down the area with a solvent to remove any dust and debris.
-
Applying Filler:
- Select a suitable plastic filler for the type of bumper material.
- Mix the filler according to the manufacturer’s instructions or until you achieve a consistent texture.
- Apply the filler using a plastic scraper, ensuring it’s level with the surrounding surface.
- Allow the filler to cure completely as per instructions.
-
Sanding for Smoothness:
- Once cured, use a finer sandpaper (800 to 1200 grit) to sand the filler until smooth.
- Check the surface regularly for flatness and corrections needed.
- Dust off the sanded area frequently to maintain visibility of your work.
-
Priming:
- Apply a high-quality primer suitable for plastic surfaces.
- Use light, even coats, allowing each coat to dry before applying the next.
- Sand the primer lightly with 1200 grit sandpaper after it dries for a smooth finish.
-
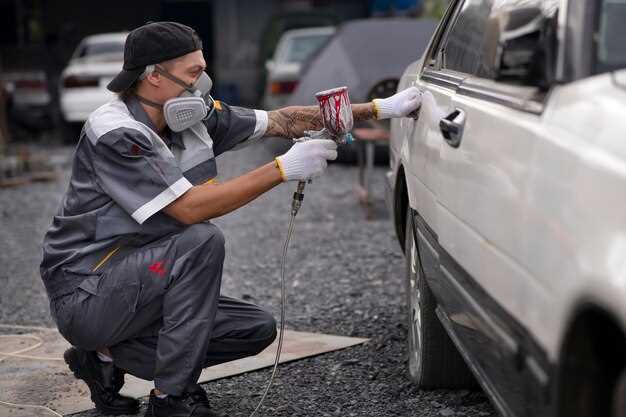
Painting:
- Select a paint specifically designed for automotive plastics.
- Apply multiple thin coats rather than a single heavy coat to avoid drips.
- Allow adequate drying time between coats as recommended.
-
Curing:
- Post-paint, let the bumper cure fully to ensure durability.
- Follow the paint manufacturer’s guidelines for total curing time.
-
Final Sanding and Polishing:
- If necessary, lightly sand the final coat to eliminate imperfections.
- Use a polishing compound and apply it with a clean cloth or buffer to enhance the shine.
- Finish with a protective wax to provide additional protection and shine.
Following these steps diligently will ensure that the repaired area blends seamlessly with the rest of the bumper, providing a professional-looking finish.

