When it comes to maintaining the aesthetics and value of your vehicle, addressing bumper scratches and scuffs is essential. These minor damages can occur due to everyday encounters such as parking mishaps or road debris, and while they may seem insignificant, they can lead to more severe issues if left unattended. Fortunately, repairing these blemishes can often be done easily and cost-effectively with the right approach.
In this article, we will guide you through a step-by-step process for repairing bumper scratches and scuffs, allowing you to restore your vehicle’s appearance and protect it from further damage. Whether you’re a seasoned DIY enthusiast or a novice, the techniques outlined here are straightforward and require minimal tools.
By following our detailed instructions, you will learn how to assess the damage, select appropriate materials, and execute the repair efficiently. Not only will you save money on professional services, but you will also gain a sense of accomplishment in taking care of your vehicle. So let’s dive in and get started on bringing your bumper back to its original glory!
Assessing the Damage to Your Bumper
Before starting the repair process, it is crucial to accurately assess the extent of the damage to your bumper. Begin by cleaning the area with soap and water to remove any dirt or debris. This will help you see the true condition of the surface and identify all scratches and scuffs.
Next, inspect the bumper from different angles and under varying lighting conditions. This will help you detect imperfections that may not be visible from a single viewpoint. Pay close attention to any deep scratches, dents, or cracks that penetrate the paint and reach the underlying material.
It is important to categorize the damage. Surface scratches can often be polished out easily, whereas deeper gouges may require more extensive repair techniques such as filler or repainting. Look for signs of plastic deformation or paint flaking; these issues may indicate that the bumper needs more than just cosmetic repairs.
Also, consider the location of the damage. If your bumper has structural components that are compromised, you might need to consult a professional. Assessing whether the damage affects the functionality of components such as sensors or lights is also crucial.
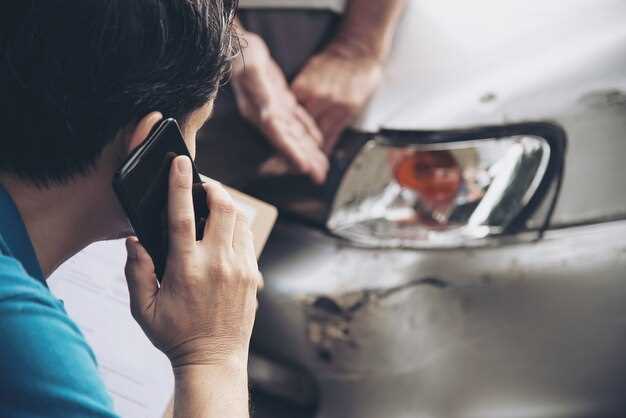
Lastly, take photographs of the damage for documentation. This visual record can be beneficial if you need to file an insurance claim or consult a professional for assistance. Accurate assessment lays the groundwork for effective repairs and ensures that you address all issues properly.
Preparation and Materials Needed for Bumper Repair

Before starting the bumper repair process, proper preparation is essential to achieve a smooth and professional finish. Begin by gathering all necessary materials and tools to ensure efficiency and effectiveness throughout the repair.
First, assess the damage on the bumper. Identify whether the scratches are superficial or if deeper gouges are present. This will determine the level of repair required and the materials needed.
For the repair, you will need the following materials:
- Sandpaper: Use a variety of sandpaper grits, starting from 80-grit for deeper scratches and progressing to 400-grit for a smooth finish.
- Automotive Primer: A good quality automotive primer will help prepare the surface for painting and improve adhesion.
- Paint: Choose the appropriate touch-up paint that matches your vehicle’s color code. This may include spray paint or touch-up pens.
- Clear Coat: Applying a clear coat after painting will provide protection and enhance the shine of the repaired area.
- Body Filler: For deeper gouges, a body filler may be necessary to level the surface before painting.
- Masking Tape: Use masking tape to cover areas around the scratch to prevent overspray during the painting process.
- Cleaning Solutions: A degreaser or rubbing alcohol will help clean the bumper before starting the repair.
In addition to materials, ensure you have the following tools on hand:
- Sand Block: Useful for holding sandpaper when smoothing out the surface.
- Putty Knife: Essential for applying body filler evenly.
- Paint Spray Gun or Brush: Depending on your preference for applying paint.
- Cloth Rags: For cleaning and wiping down surfaces throughout the repair process.
- Protective Gear: Safety goggles, gloves, and a mask to protect against dust and fumes while working.
Once all materials and tools are assembled, prepare the work area by ensuring it is clean and well-ventilated. A well-organized workspace will facilitate a smoother repair process and improve overall results. Following these preparation steps will set you up for success in repairing bumper scratches and scuffs.
Step-by-Step Process for Repairing Scratches and Scuffs

Begin the repair by thoroughly cleaning the bumper’s surface. Use soap and water to remove dirt and debris, ensuring a smooth working area. Dry the surface completely with a microfiber cloth to prevent moisture from interfering with the repair process.
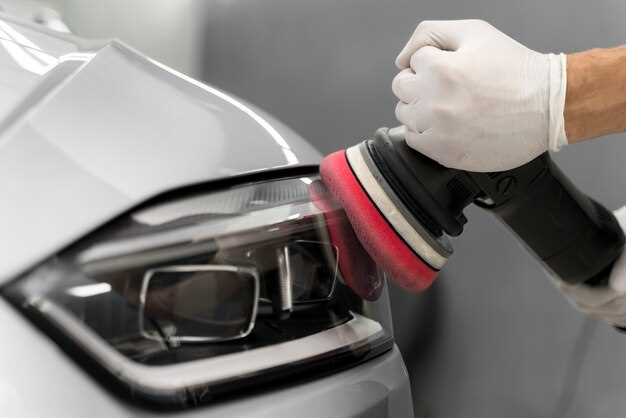
Next, assess the extent of the scratches and scuffs. For minor scratches, a simple polishing solution may suffice. Apply a small amount of rubbing compound to a clean cloth and gently work it into the scratch using circular motions. This will help to blend the scratched area with the surrounding paint.
If the scratches are deeper, sandpaper may be required. Select a fine-grit sandpaper, ideally around 2000-grit. Lightly sand the scratched area to remove any rough edges, being careful not to harm the surrounding paint. It’s best to keep the area wet while sanding to prevent further damage.
After sanding, clean the area again to remove any dust created by the sanding process. Dampen a cloth with water and wipe down the affected area. Allow it to dry fully before proceeding.
Now, apply a touch-up paint that matches your vehicle’s color. Use a fine-bristled brush for accuracy, filling in the scratched area gently. Allow the paint to dry according to the manufacturer’s instructions. This step may need repeating if the color is not fully opaque.
Once the touch-up paint is dry, consider applying a clear coat to protect the area and give it a polished finish. Apply the clear coat using a clean brush and allow it to dry thoroughly. This will enhance the durability of the repair.
Finally, wax the entire bumper to create a uniform shine. Use a high-quality car wax and buff it to bring out the shine. This step will also provide additional protection against future scratches and scuffs.
Inspect your work once completed. If necessary, repeat any steps for a more comprehensive repair. Regular maintenance and prompt repair of scratches will keep your bumper looking its best.

