Auto body repair often involves the challenge of achieving a flawless finish on newly repaired panels. This process requires a keen eye for detail and advanced skills in paint application. Blending paint techniques play a pivotal role in ensuring that the repaired area seamlessly integrates with the existing paintwork. Understanding these techniques is essential for both professional auto body technicians and DIY enthusiasts looking to achieve high-quality results.
Effective blending goes beyond merely applying a coat of paint. It involves a strategic approach to mixing, matching, and fading colors to create a cohesive appearance. Different paints, primers, and clear coats can behave in unique ways, making it vital to consider factors such as color theory and the specific characteristics of the materials being used. Moreover, blending techniques must be tailored to suit the specific conditions of each repair job, taking into account variables like the original paint’s age and condition.
This article delves into various blending techniques that can be utilized for repaired auto panels. From the fundamentals of color matching to advanced fading methods, we will explore how to achieve a seamless transition between the new and existing paint surfaces. By mastering these techniques, you can enhance the aesthetic appeal of your vehicle while ensuring that repairs are both durable and visually appealing.
Selecting the Right Materials for Paint Blending

Choosing the appropriate materials for paint blending is crucial to achieve a seamless finish on repaired auto panels. The selection process involves several key factors, including the type of paint, blending solvent, and application tools.
1. Type of Paint: The first step is to select the right type of automotive paint. Typically, automotive paints come in two main categories: solvent-based and water-based. Solvent-based paints offer excellent durability and gloss but may require specific safety precautions due to volatile organic compounds (VOCs). Water-based paints are more environmentally friendly and cleaner to work with, offering ease of blending.
2. Blending Solvent: A blending solvent is essential for smoothing out transitions between old and new paint. The choice of solvent should match the paint type; for instance, if you’re using solvent-based paint, a compatible solvent is necessary to prevent any adverse reactions. Many professionals recommend using a reducer or a specific blending solvent designed for mixing with particular paint types, as this will help in achieving a smoother transition.
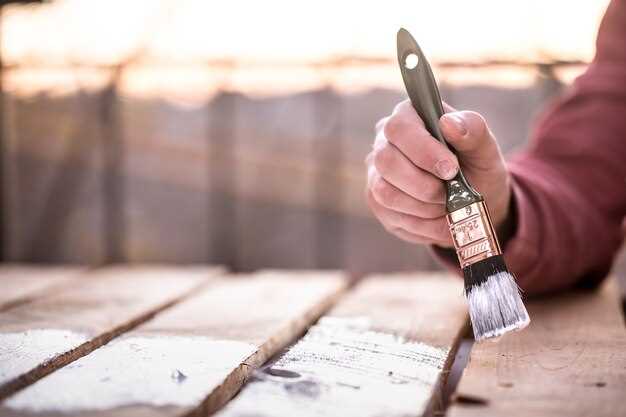
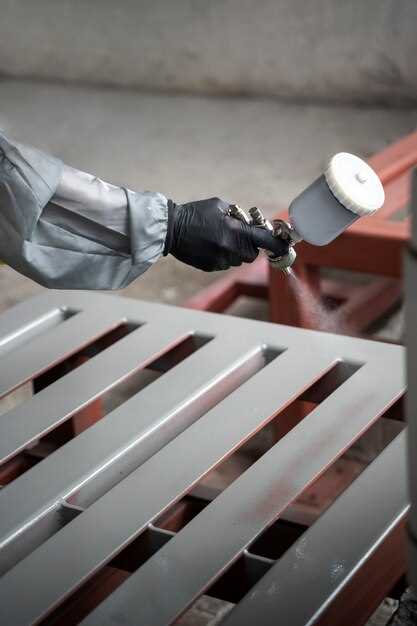
3. Application Tools: The tools used for application significantly influence the final result. High-quality spray guns allow for precise control over the paint application, while proper mixing cups ensure accurate measurement of materials. Additionally, using the right type of paint brushes or rollers for touch-ups can facilitate better blending. Make sure to choose tools that are compatibly designed for your selected paint type.
4. Quality of Materials: Investing in high-quality materials can greatly enhance the blending process. Low-quality paints and solvents may not adhere properly or provide the desired finish, resulting in visible imperfections. It’s advisable to source materials from reputable suppliers and verify that they meet industry standards.
5. Color Matching: Finally, selecting a color that closely matches the existing paint is crucial for blending. Use a color wheel or consult color matching systems available at auto supply stores to identify the correct shade. Testing the color on a small area before full application can help ensure a perfect match.
In conclusion, careful consideration of paint type, blending solvents, application tools, material quality, and color matching will lead to successful paint blending on repaired auto panels. These elements work in harmony to produce a flawless, professional-looking finish that maintains the integrity of the vehicle’s appearance.
Step-by-Step Process for Achieving Seamless Color Matching
Achieving a seamless color match on repaired auto panels requires meticulous attention to detail and a structured approach. Follow these steps to ensure optimal results.
Step 1: Assess the Original Color
Begin by examining the car’s original color in various lighting conditions. Consider both natural and artificial light to understand how the color appears under different circumstances. Use a color code, if available, or take a sample from a non-damaged area for accurate reference.
Step 2: Select the Right Materials
Choose high-quality paints and primers that match the manufacturer’s specifications. Opt for a paint system that offers color-matching capabilities and includes various shades to work with. Get a professional-grade clear coat for the finishing touch.
Step 3: Prepare the Surface
Thoroughly clean the repair area to remove any dirt, dust, or remnants of previous paint. Sand the surface to create a smooth base and ensure proper adhesion. Use a tack cloth after sanding to eliminate dust particles.
Step 4: Blend the Base Coat
Start by applying the base coat to the repaired area. Use a spray gun to ensure an even application. Gradually build layers, allowing each layer to dry before applying the next. Blend the edges into the surrounding area to facilitate a seamless transition.
Step 5: Use Color Matching Tools
Utilize spectrophotometers or color-matching software to fine-tune the paint mixture. This technology helps in analyzing the hue, saturation, and brightness of the original color and provides precise adjustments to your mix.
Step 6: Test the Color
Before applying the full coat, test the paint on a scrap piece or inconspicuous area. Allow it to dry completely, as colors may change once dried. Compare the test patch to the original paint for a more accurate assessment.
Step 7: Apply Clear Coat
Once satisfied with the base coat, apply a clear coat to provide depth and protection. Ensure even application and a proper blend with the surrounding areas to maintain a consistent finish.
Step 8: Final Polish
After the clear coat has cured, polish the area gently with a fine compound. This step enhances gloss and smoothens any imperfections, ensuring the repaired area integrates perfectly with the rest of the vehicle.
By following these steps diligently, you can achieve an impeccable color match and restore the aesthetic appeal of repaired auto panels effectively.
Troubleshooting Common Issues in Paint Blending

Blending paint on repaired auto panels can sometimes lead to unexpected problems. Understanding these issues and their solutions can enhance the final appearance of your work. Below are common challenges encountered during the paint blending process.
1. Mismatched Color: One of the most prevalent issues occurs when the blended paint does not match the original color. This can happen due to variations in paint formulations or discrepancies in application thickness. To resolve this, always use the manufacturer’s color code and test a small section before full application. Adjust the tint if needed, and ensure you are using compatible paint products.
2. Visible Edges: Fading transitions from the new paint to the old can create visible edges. To mitigate this, feather the edges of the repair area by lightly sanding the transition zone before applying the blend coat. Additionally, using a finer spray pattern will help dissolve the edges and create a smoother transition.
3. Blotchy Appearance: A blotchy finish typically occurs due to uneven application of paint. This can be rectified by maintaining consistent spray distance and overlapping each pass while painting. Too much paint can also lead to pooling, so applying several thin coats rather than one heavy coat is recommended for better control and even finish.
4. Texture Discrepancies: Sometimes, the newly painted area may differ in texture compared to the surrounding panel. To address this, adjust your spray technique and consider using a clear coat that matches the original finish. Additionally, using a light wet sanding technique after the initial coat can help to blend the textures more effectively.
5. Poor Adhesion: If the new paint fails to adhere well, it may peel or chip away over time. Ensure the surface is thoroughly cleaned and prepared prior to painting. Utilize appropriate primers and consider environmental factors such as temperature and humidity during application, as these can affect adhesion.
6. Dust and Debris Contamination: Dust particles can settle on freshly painted surfaces, leading to imperfections. To minimize this risk, always paint in a clean, controlled environment. Using a spray booth or covering the work area can significantly reduce the likelihood of contaminants landing on your work.
By recognizing and addressing these common issues, you can achieve a flawless paint blend that enhances the overall quality of your auto repairs. Continuous practice and careful attention to detail will result in improved skills over time.

