Repainting a car can be a daunting task, but it doesn’t always require stripping off the old paint. In many cases, a fresh coat can be applied directly over existing layers, provided the original paint is in good condition. This method not only saves time and effort but also can lead to a durable finish when done correctly.
When considering repainting without removing the old paint, it’s crucial to evaluate the surface quality. Chips, scratches, and peeling paint should be addressed before introducing new layers. Preparing the surface through adequate cleaning and sanding ensures that the new paint adheres properly, leading to a more even and consistent finish.
The choice of paint also plays a critical role in this process. Using compatible products that bond well with the existing paint is essential. Primer selection should align with both the type of paint used and the original surface condition. Understanding the types of paints, such as acrylic or urethane, can further aid in achieving optimal results.
This article delves into the detailed steps and considerations involved in repainting a car without the need for a full paint removal. By mastering these techniques, car enthusiasts can rejuvenate their vehicles while maintaining their value and aesthetic appeal.
Surface Preparation Techniques for Best Adhesion

Achieving optimal adhesion when repainting a car requires meticulous surface preparation. Proper techniques ensure that the new paint bonds effectively with the existing paint layers. Here are key methods to ensure the best results.
1. Cleaning the Surface: Before any painting, the surface must be thoroughly cleaned to remove dirt, grease, and contaminants. Use automotive soap and water or a dedicated degreaser. Rinse well and dry with a lint-free cloth. This step is crucial as any residue can hinder adhesion.
2. Sanding: Sanding the surface is vital to create a rough texture, allowing the new paint to grip more effectively. Use a fine-grit sandpaper, typically around 320 to 400 grit. Sand the areas where the old paint has imperfections, and ensure a uniform surface. Vacuum or wipe down the area afterward to remove dust and debris.
3. Priming: Applying a primer is essential for enhancing adhesion, especially if there are bare metal spots or areas with significant imperfections. Choose a primer compatible with the existing paint type. A spray primer often provides an even coat, which assists in creating a smooth base for the new paint.
4. Tack Cloth Use: After sanding and priming, use a tack cloth to eliminate any leftover dust particles. The sticky surface of the tack cloth attracts and removes small particles that could affect paint adhesion. This step ensures a clean surface before applying the final coat.
5. Environmental Factors: Consider humidity and temperature when preparing the surface. Ideal conditions help the paint adhere firmly. Avoid painting in high humidity or extreme cold, as these factors can affect both the drying time and the adhesion properties of the paint.
By implementing these surface preparation techniques, you lay the groundwork for a successful repainting process. When done correctly, these steps will contribute to an enduring and aesthetically pleasing finish.
Choosing the Right Paint and Primer for Your Project

Selecting the appropriate paint and primer is critical for achieving a successful car repaint without removing the old paint. Understanding the compatibility of materials is essential to ensure a smooth application and durable finish.
Primer Type: Start with the right primer that corresponds to the existing paint. For most automotive applications, use an epoxy or self-etching primer if you are working on surfaces with existing paint. These primers provide excellent adhesion and create a strong bond between the layers, preventing future peeling.
Paint Type: Choose high-quality automotive paint, preferably a polyurethane or acrylic urethane variant. These paint types are known for their durability, gloss retention, and resistance to chemicals and UV rays. Ensure the paint is compatible with the primer to avoid issues such as lifting or bubbling during the application.
Color Matching: If you’re not planning to repaint the entire vehicle, ensure you select a paint color that closely matches the existing paint. Consider using a color matching service or rely on manufacturer codes to find the best match.
Finish: Decide on the desired finish, whether it be matte, satin, or glossy. Each finish has its own application techniques and maintenance requirements. Glossy finishes generally require additional clear coats for protection and shine, while matte finishes may need specific products to maintain their appearance.
Environmental Considerations: Consider the application environment. Some paints and primers emit strong fumes, so ensure adequate ventilation. Additionally, specific temperature and humidity conditions must be met for optimal curing and adhesion. Refer to the manufacturer’s guidelines for ideal application parameters.
By carefully selecting the right paint and primer, you can significantly enhance the outcome of your car repainting project, leading to a more appealing and long-lasting finish.
Step-by-Step Application Process for a Flawless Finish
Achieving a flawless finish when repainting a car without removing the old paint requires careful planning and precise execution. Follow these steps to ensure the best results.
1. Preparation of the Surface: Start by thoroughly cleaning the car’s exterior. Use soap and water to remove dirt, grease, and contaminants. After cleaning, rinse and dry the surface completely. Next, inspect the old paint for imperfections such as chipping, rust, or unevenness. Sand down any rough spots and smooth out imperfections using fine-grit sandpaper.
2. Masking Off Areas: Use painter’s tape and plastic sheeting to mask off areas that you do not want to be painted, such as windows, trim, and wheels. Ensure that the tape is applied smoothly without any gaps to prevent paint bleed.
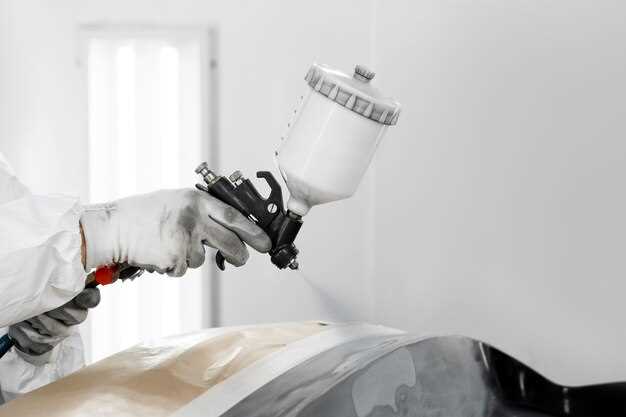
3. Applying Primer: Choose a compatible primer designed for use over existing paint. Apply a thin, even coat of primer using a spray gun or aerosol can. This step is essential to ensure proper adhesion of the new paint. Allow the primer to dry according to the manufacturer’s instructions, typically for several hours.
4. Sanding the Primer: Once the primer is fully dry, lightly sand the surface using fine-grit sandpaper. This process will help achieve a smooth base for the paint and enhance adhesion. Wipe down the sanded area with a clean, dry cloth to remove any dust particles.
5. Mixing and Preparing Paint: Prepare your automotive paint according to the manufacturer’s instructions. Make sure to mix it thoroughly to ensure consistent color and texture. Strain the paint if necessary to remove any debris.
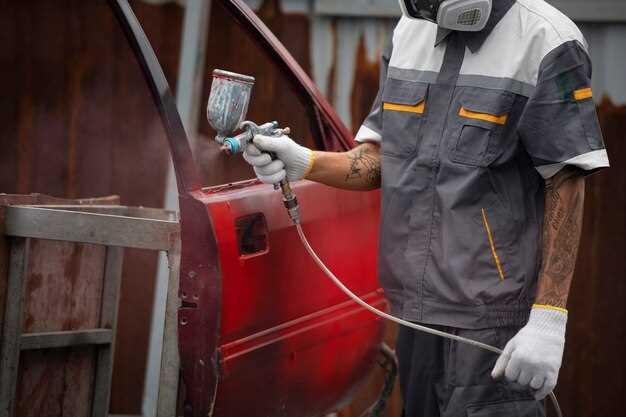
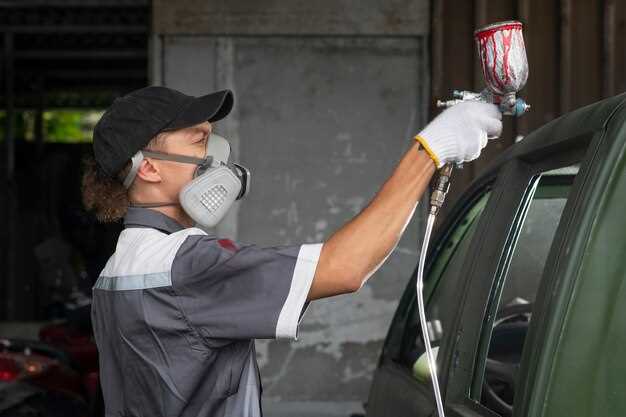
6. Painting Process: Apply the paint in multiple thin coats rather than one heavy application. Start with the areas that are less visible, gaining control over the spray technique. Hold the spray gun or can at an appropriate distance from the surface, usually around 6-12 inches, and use steady, even strokes. Allow each coat to dry fully before applying the next one.
7. Clear Coat Application: After achieving satisfactory coverage with the paint, apply a clear coat to enhance gloss and provide protection. This layer should also be applied in thin, even coats. Allow it to dry completely before handling the vehicle.
8. Final Inspection and Touch-Ups: Once the clear coat is dry, inspect the painted surface for any flaws or imperfections. If necessary, perform touch-ups using a small brush or airbrush to correct any missed spots. After final adjustments, allow everything to cure fully before exposing the car to the elements.
By following these steps meticulously, you can achieve a professional-looking finish while repainting your car without removing the old paint.

