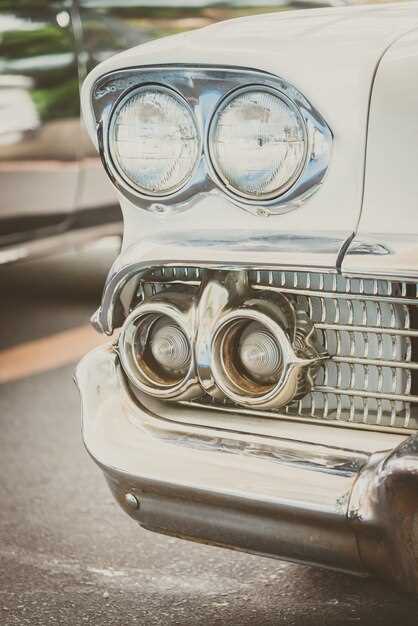
Restoring a classic car is not just a hobby; it is a passion that breathes new life into vehicles that have stood the test of time. With careful planning and dedicated effort, you can transform a worn-out shell into a stunning piece of automotive history. This article will guide you through the essential steps to ensure your restoration project is both successful and rewarding.
Before diving into the project, it is crucial to assess the condition of your classic car. Understanding the extent of repairs needed will help you make informed decisions about budgeting, sourcing parts, and estimating the time required for the restoration. Take stock of the car’s body, engine, transmission, and interior to identify areas that need attention. This preliminary evaluation will set the stage for a smoother restoration process.
Once you have a clear picture of your project’s scope, the next step is to create a detailed plan. Outline your goals, set a realistic timeline, and prioritize tasks based on complexity and importance. Developing a step-by-step approach will keep you organized and focused as you navigate the myriad challenges that often arise during a restoration project. Patience and perseverance will be your best allies in this journey.
The final stage involves execution, where your planning translates into action. As you work through each phase of restoration, remember that attention to detail is paramount. Whether you are tackling rust repair, painting, or upholstery, a meticulous approach will ensure quality results. Additionally, consider joining restoration communities or forums, as they can provide valuable resources and support throughout your journey.
Assessing the Condition of Your Classic Car

Properly assessing the condition of your classic car is a critical first step in the restoration process. Begin by conducting a thorough visual inspection. Look for rust, dents, and signs of previous bodywork, which can indicate more extensive damage beneath the surface. Pay close attention to the frame and underbody, as rust in these areas can compromise the vehicle’s structural integrity.
Next, evaluate the mechanical components. Check the engine, transmission, and drivetrain for leaks, corrosion, or missing parts. Start the engine to listen for unusual noises and gauge its responsiveness. Ensure that the brakes, suspension, and steering are functioning properly, as these systems are vital for safety and performance.
Inspect the car’s electrical system, including the wiring, battery, and lighting. Look for frayed wires or corroded connections, which could lead to future complications. Test all electronic components, such as gauges and switches, to ensure they operate correctly.
Examine the interior for wear and tear. Assess the condition of the upholstery, dashboard, and carpeting. Note any necessary repairs or replacements, as restoring the interior can significantly impact the overall aesthetics of the car.
Finally, consider the car’s history. Research any past restorations or modifications, as these can affect both the car’s current condition and its value. Document your findings meticulously, creating a detailed report that outlines each area of concern. This assessment will serve as a foundation for your planning and budgeting as you embark on the restoration journey.
Gathering the Right Tools and Parts for Restoration
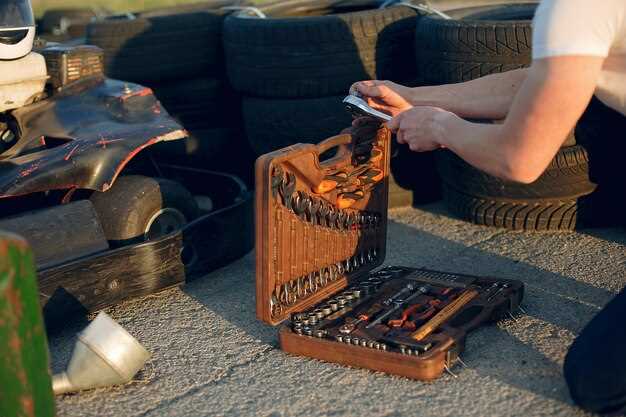
Restoring a classic car requires careful planning and the right equipment. Begin by identifying the specific tools necessary for your restoration project. Essential tools include wrenches, sockets, screwdrivers, pliers, and hammers. Invest in a high-quality set of metric and standard tools, as different parts of the vehicle may require different specifications.
A lift or jack stands are crucial for safely elevating the car, allowing access to the undercarriage and other hard-to-reach areas. Additionally, consider acquiring specialized tools such as torque wrenches, impact guns, and bodywork tools. A good quality paint sprayer will also be necessary if you’re planning on doing your own body work and painting.
Next, make a list of parts that need replacement or restoration. This can include mechanical components like brakes, suspension parts, and engine internals, as well as aesthetic features such as glass, chrome, and upholstery. Research the specific make and model of your classic car to ensure you get the correct parts. Websites, forums, and local car clubs can be excellent resources for locating hard-to-find components.
Consider the quality of parts you choose; aftermarket components can vary significantly in reliability and fit. Whenever possible, opt for OEM (Original Equipment Manufacturer) parts, which will ensure compatibility and longevity. Second-hand parts can also be a viable option, but they should be carefully inspected for wear and damage before use.
Once you have an inventory of tools and parts, organize them in a way that makes access easy during the restoration process. Use storage bins or toolboxes to keep everything sorted and labeled. Proper organization will save you time and frustration as you work through the various stages of your project.
Executing the Restoration Process Step by Step

Successfully restoring a classic car requires a methodical approach and meticulous attention to detail. Each step in the process is crucial for achieving the desired outcome.
1. Assessment and Planning: Begin by evaluating the condition of the car. Document its current state, identifying areas that need repair, restoration, or replacement. Create a detailed plan outlining specific goals, necessary parts, budget, and timeline for the project.
2. Disassembly: Carefully disassemble the vehicle, labeling and organizing parts as you go. This phase is essential to understand the extent of needed repairs and to avoid damage to components that can be reused later.
3. Bodywork: Address rust, dents, and other imperfections in the body. This may involve welding, sanding, and filling areas with body filler. Ensure that the surface is smooth and ready for painting.
4. Mechanical Work: Focus on the engine, transmission, brakes, and suspension. Replace or rebuild parts as necessary to ensure optimal performance. It’s important to refer to manuals and diagrams to maintain accuracy during reassembly.
5. Electrical System Restoration: Inspect and repair the wiring, battery, and electrical components. Ensure that all systems, including lights and climate control, are functional before moving forward.
6. Interior Restoration: Revitalize the interior by reupholstering seats, replacing carpeting, and fixing or replacing the dashboard. Pay attention to details like trims and knobs to keep the aesthetic authentic.
7. Paint and Finish: Apply primer, paint, and clear coat, ensuring a flawless finish. Choosing the right color and type of paint is vital for achieving an authentic look. Consider professional help if necessary.
8. Reassembly: Carefully reassemble the vehicle, following your labeled parts system. Ensure all components fit correctly and are aligned, checking twice for any missed steps.
9. Final Inspection and Test Drive: Conduct a thorough inspection of the completed restoration. Test drive the car to identify any performance issues or adjustments that may be needed. Make necessary final adjustments before considering the project fully complete.
10. Maintenance and Preservation: Implement a regular maintenance schedule to preserve the integrity of your restored classic car. Keep it clean and protected from the elements to maintain its value and appearance.

